It’s been difficult to get myself motivated on the bike front, crap weather, damp shed, cashflow problem… but I kicked myself in the arse this weekend and carried on stripping stuff down.
I got a bit overwhelmed by the amount of work that’s required so I printed off the exploded view of the bike and broke it down into thirds, just to give myself some realistic targets.

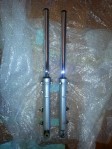
Rusty RD350 fork stanchions
I spent the weekend on the front third, stripping the forks and seeing what I had. The original fork stanchions were knackered so I managed to buy a decent secondhand pair of forks off of eBay. The replacement forks are off an F2 but they will fit the N1, I’ll get the fork lowers powder coated black (when I get the frame done) because they are silver at the moment.
RD350 F2 Forks
They need new bushes and seals but it should work out cheaper than new stanchions for my original forks.
The brake calipers are in really bad shape, they need new seals and a paint job. I had a look around for repair kits and they run at about £20 a side. Whilst pricing these up, I did come across a company on eBay that sell refurbished calipers for £119. I must admit, it looks quite a good deal when I think how much work I’d have to put into them, especially if the pistons (£23 a side) are shot as well.

RD350 Wheels
The original wheels and tyres are knackered, but I did get my hands on a good pair of wheels with tyres a few months back. The brake discs are also good on the wheels and the rear wheel has new cush drive rubbers so I think I saved myself a few quid there.

Cush drive
Once the bike is finished, I’ll reburb the original wheels and either swap them over or sell them on.
Moving further up the forks, I get to the headlight. Now, the bike had a F2 headlight fitted, so I had to track down a N1 bracket which I got off eBay for a decent price, I just need to find a N1 headlight assembly now, I think these are available new, but I’d settle for a decent used item.
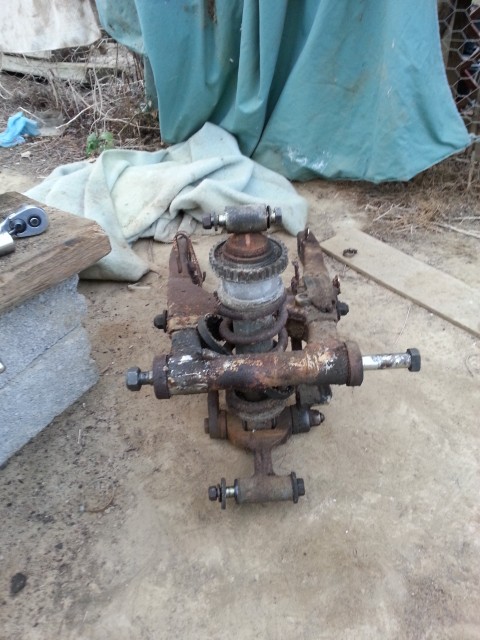
Next on the refurb list is the yoke, front brake master cylinder, the clipons, controls and brake line splitter. Time to get out the soda blaster and paint cans!